
CREATING AN GRAPHICS FROM PHOTOGRAPHS
|
|
These days copyright issues abound. It is not OK just to take an image and use it as your own. Fortunately it is easy to create your own images from almost any source. Here I will show you how to create a cute elephant image from a photo.
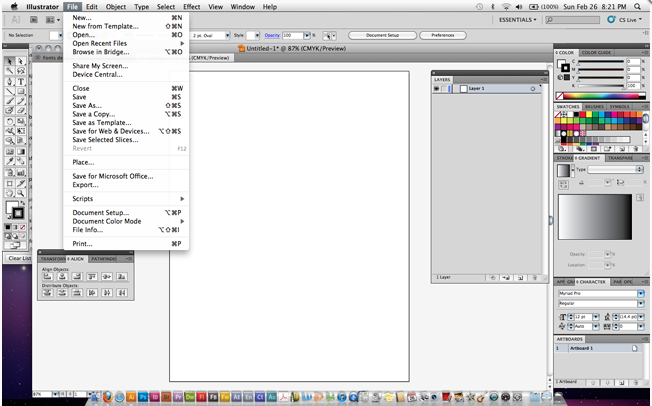
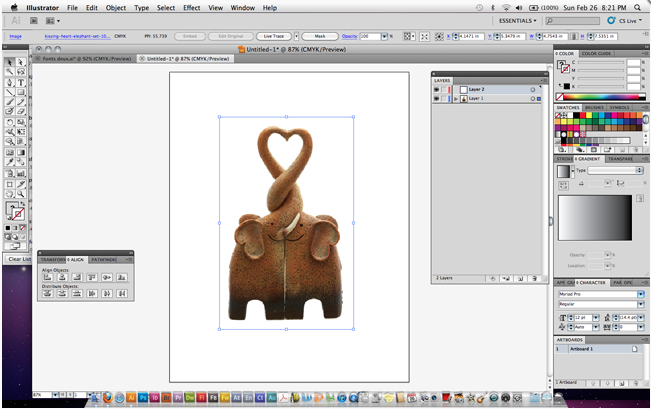
1. First step is to find the image you want. I just typed in elephants in Google and found this pic of elephants making a heart. I then saved it to the desk top in a folder created for this project *(this is a good habit to get into by the way, using folders that is). Next I "placed" the image into Illustrator. Note I said place I did not simply open it! By placing it you won't disrupt your color profiles, since Illustrator knows it is a pixel based file it is not always sure how to interpret it. By placing your image you tell the computer you know this isn't the right kind of file but allow it anyway.
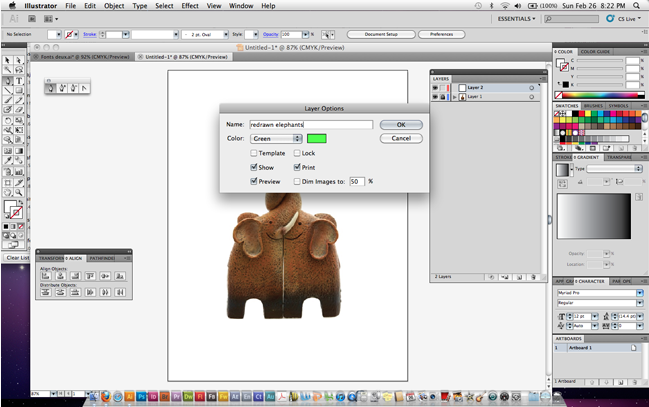
2. After I placed the elephants in Illustrator I locked them down on their own layer in the layers pallet. Then I created a new blank layer above it. The reason I did this is so that I won't accidentally keep selecting the original picture of the elephants while I am creating my traced version.
|
|
|
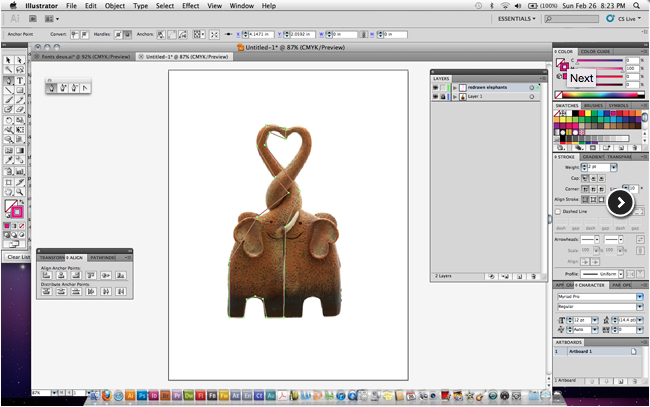
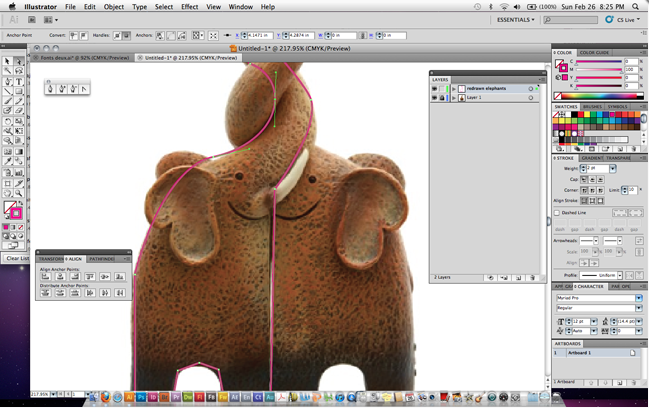
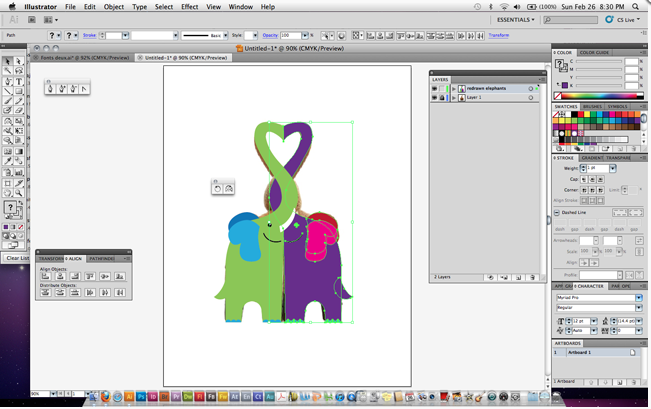
3. Next I start outlining the elephants using the pen tool. *(Note that I place a point at the top of each curve).
4. After I have placed my points where I want them I go back in with the convert anchor point tool (the one that looks like
this >) and start to bend my points into the curves needed to follow the contours of the elephants.
5. Periodically while I am tracing and adjusting my curves and points *(using the direct selection tool) I swap the outline and the fill so I can see my progress. Remember this is your creation so if you want to modify your image do so, the image you are tracing is only a guideline to ensure proportion and general intent. In this case I decided I wanted my elephants to be a bit more gestural and sinewy particularly at the base where their trunks intertwine.
|
|
|
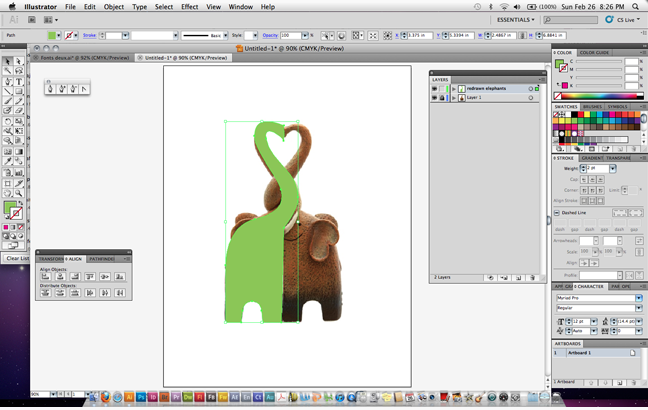
6. Once I felt I had the shape down I want I went back in and added the eyes, ears and the toe nails.
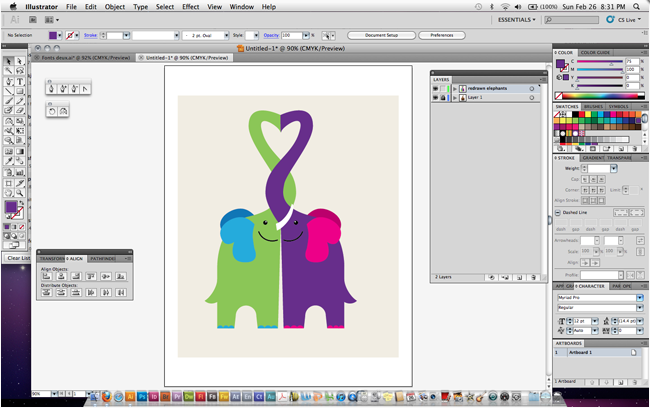
7. Now that my boy elephant was done (I know he is a boy because he has a tusk ;) I select him, then used the reflect tool to copy him and reflect him horizontally at 90 degrees.
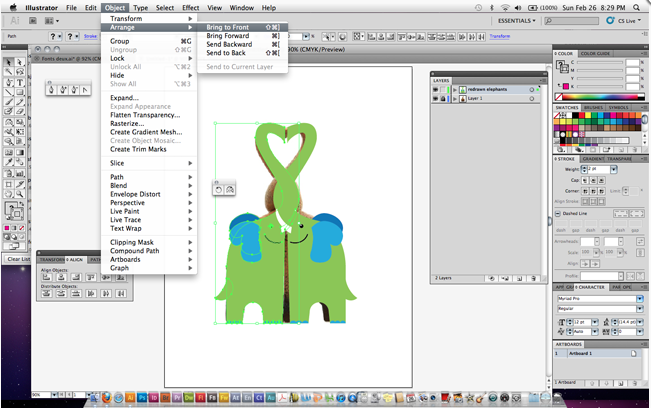
8. With the new elephant created and still selected I went to Object + Arrange + Send to back so "she" is moved behind the first elephant. *(Remember to use the shift key to select everything but the tusk, since girl elephants don't have tusks ;)
7. Now that my boy elephant was done (I know he is a boy because he has a tusk ;) I select him, then used the reflect tool to copy him and reflect him horizontally at 90 degrees.
8. With the new elephant created and still selected I went to Object + Arrange + Send to back so "she" is moved behind the first elephant. *(Remember to use the shift key to select everything but the tusk, since girl elephants don't have tusks ;)
|

|
|
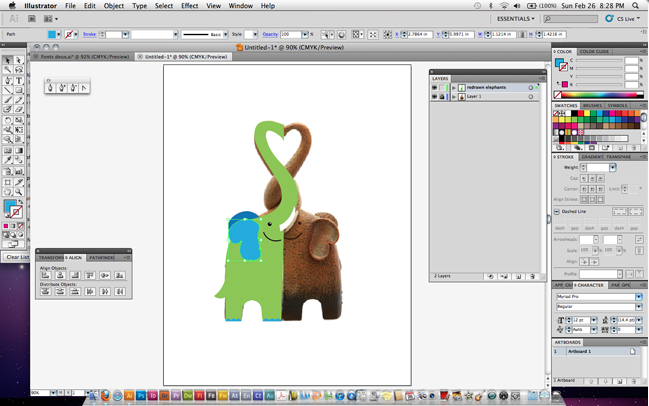
9. While the girl elephant is still highlighted and selected I chose a color for her, (a deep purple) and then I selected the ears and toe nails and filled them with a contrasting color (magenta in this case).
10. Then I simply created a neutral tan background and moved it into place in the layers pallete.
11. Lastly I selected the purple elephant and removed the points that overlapped with the direct select tool (white arrow) to give the appearance of the snouts intertwining.
And there you have it! *(I saved a finished version using Save + Save for Web and Devices + jpeg (maximum quality)
|
|

|
Key Takaway
Remember take your time and experiment! The pen tool is really powerful and it is one of the few tools that appears in both Illustrator and Photoshop because of its versatility and utility. Good luck!
Remember take your time and experiment! The pen tool is really powerful and it is one of the few tools that appears in both Illustrator and Photoshop because of its versatility and utility. Good luck!